Read this once when you arrive. It takes five minutes and might matter on a day none of us wants to think about.
If there is a fire: dial 112 first (works on any Belgian network), then leave. Don’t fight the fire unless it’s small and you can do it in one safe attempt with the extinguisher in the entrance hall.
Steenokkerzeelstraat 126, 1930 Zaventem1st floor
Meeting point
For everyone, all routes: under the balconies on the opposite side of Steenokkerzeelstraat, in front of the building. Visible from the street, safe distance from any facade fire, easy for emergency services to find.
Route 1A
Main route — front door
The route you would normally use to leave the building. Out of the apartment, down the common stairs, out the main door, onto Steenokkerzeelstraat.
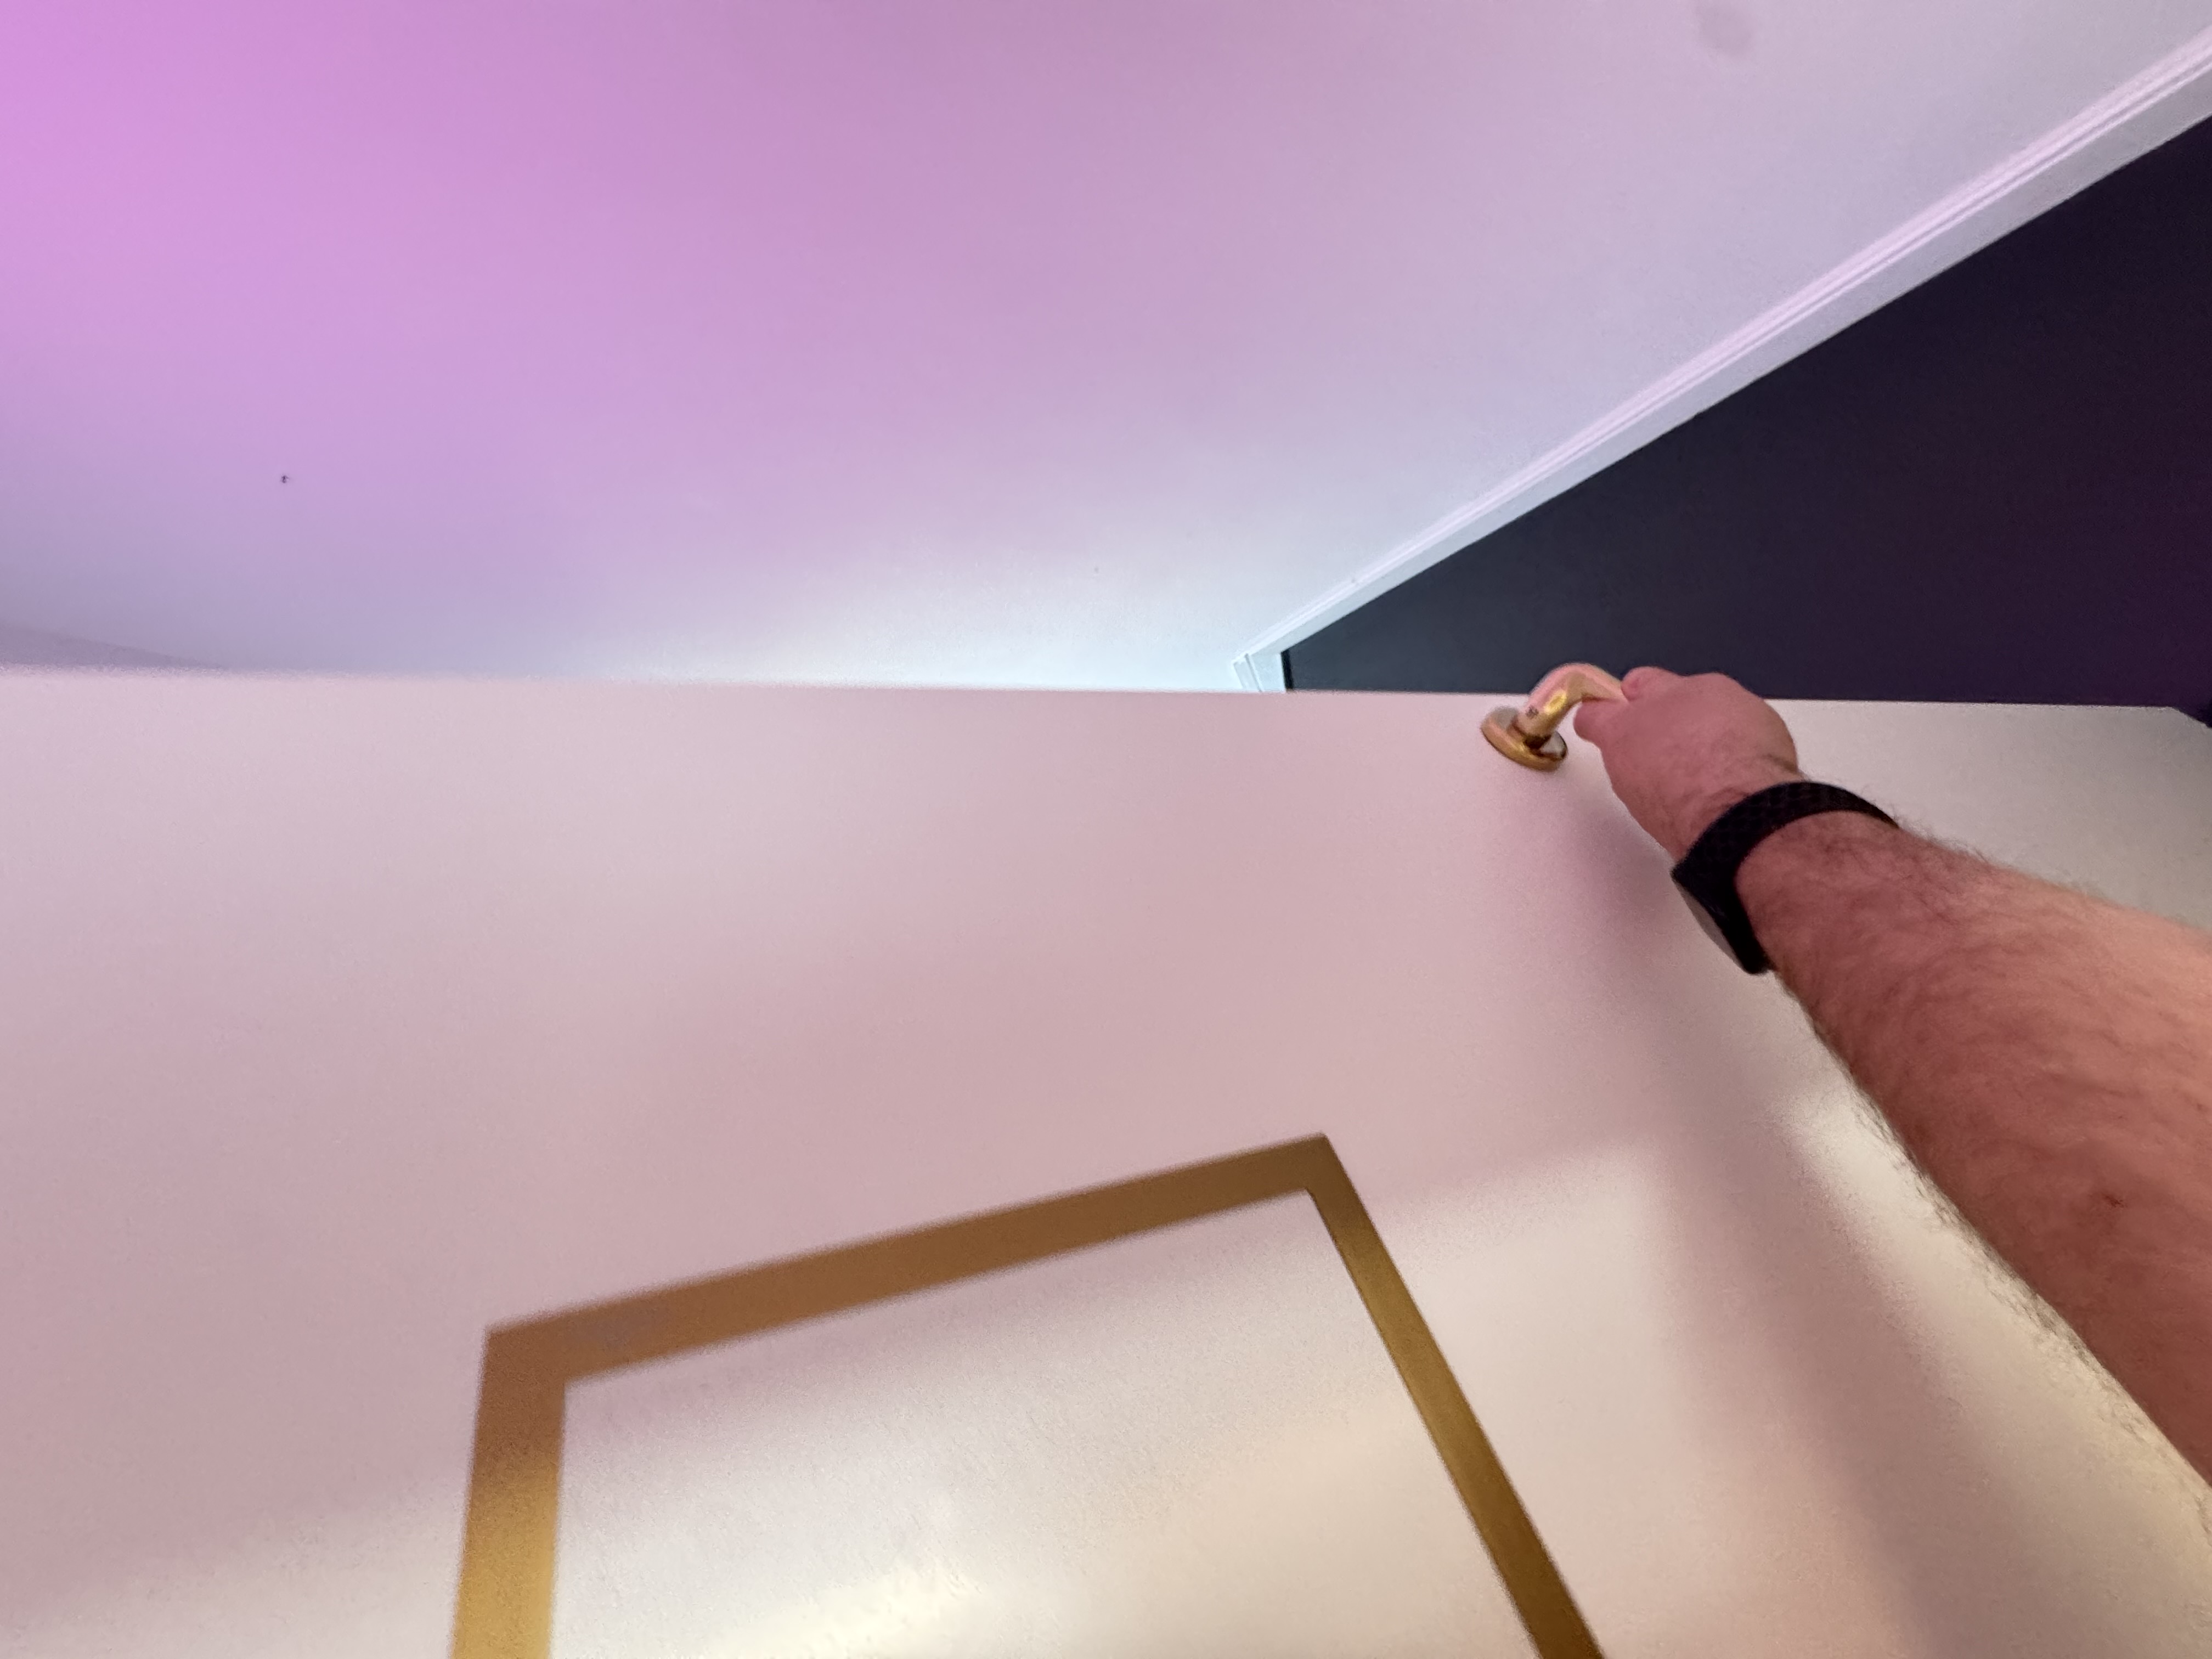
Open the apartment door and step into the common stairwell on the 1st floor.
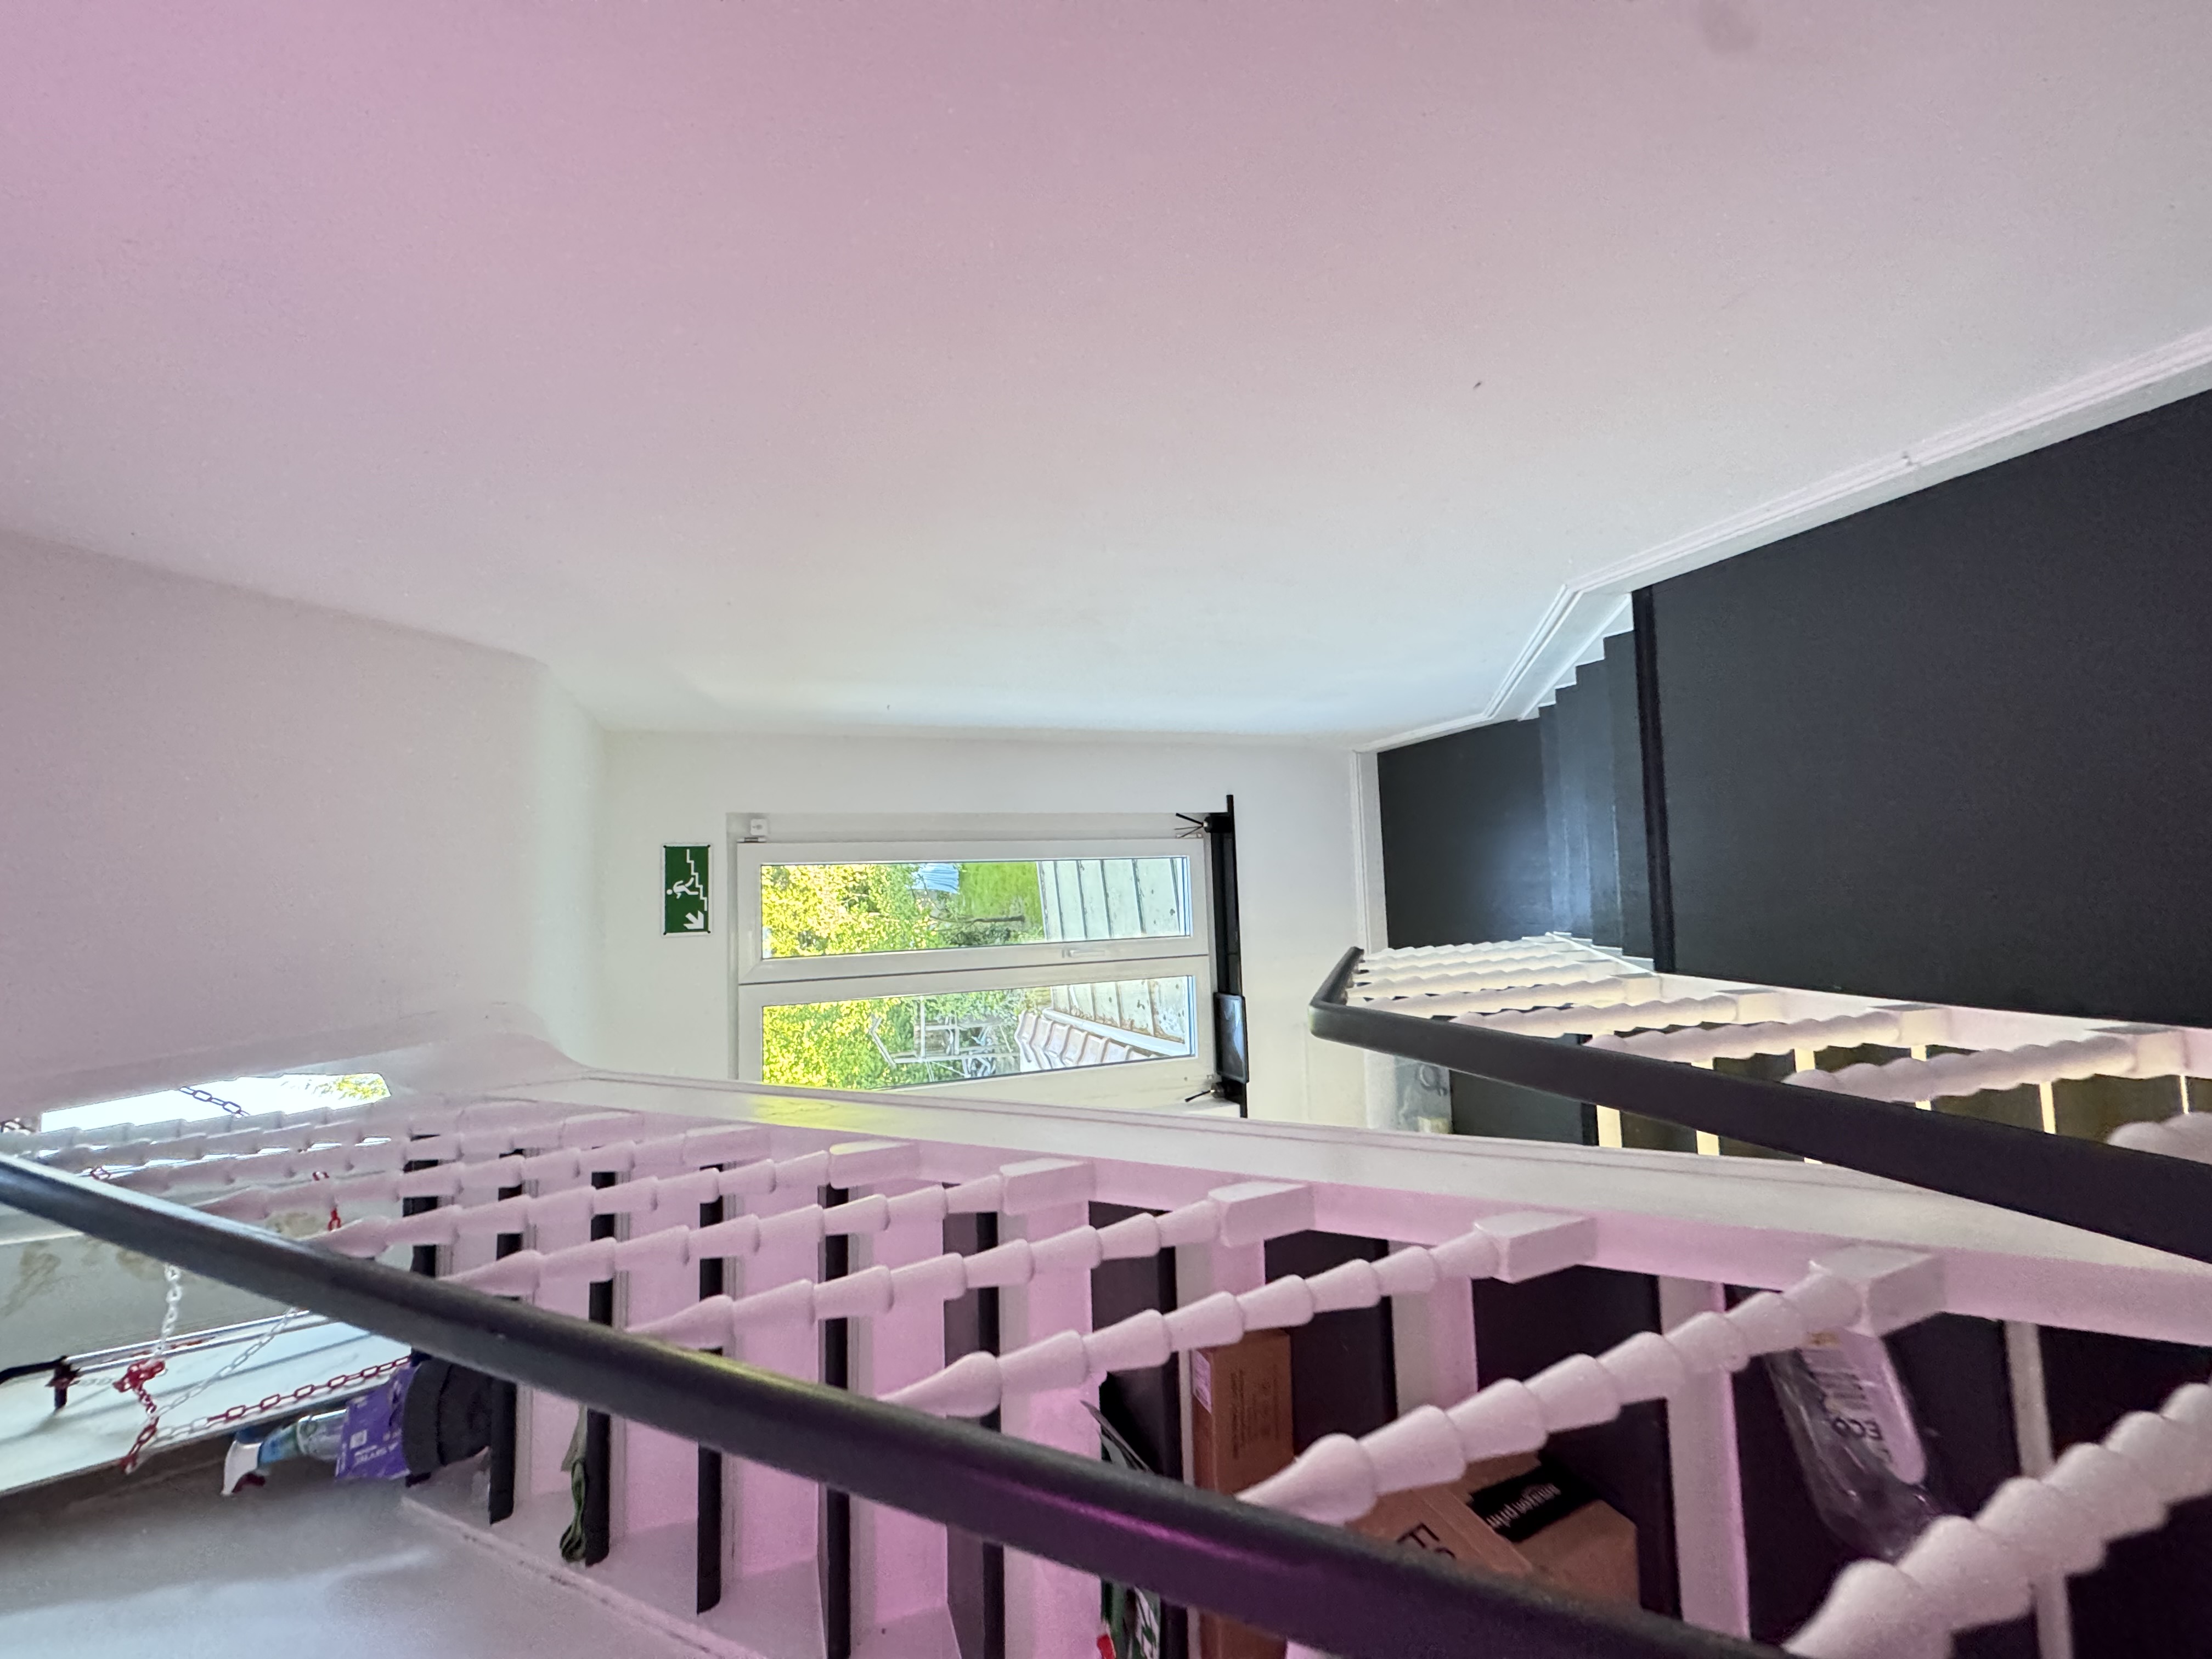
Go down the stairs. Green pictograms point the way.
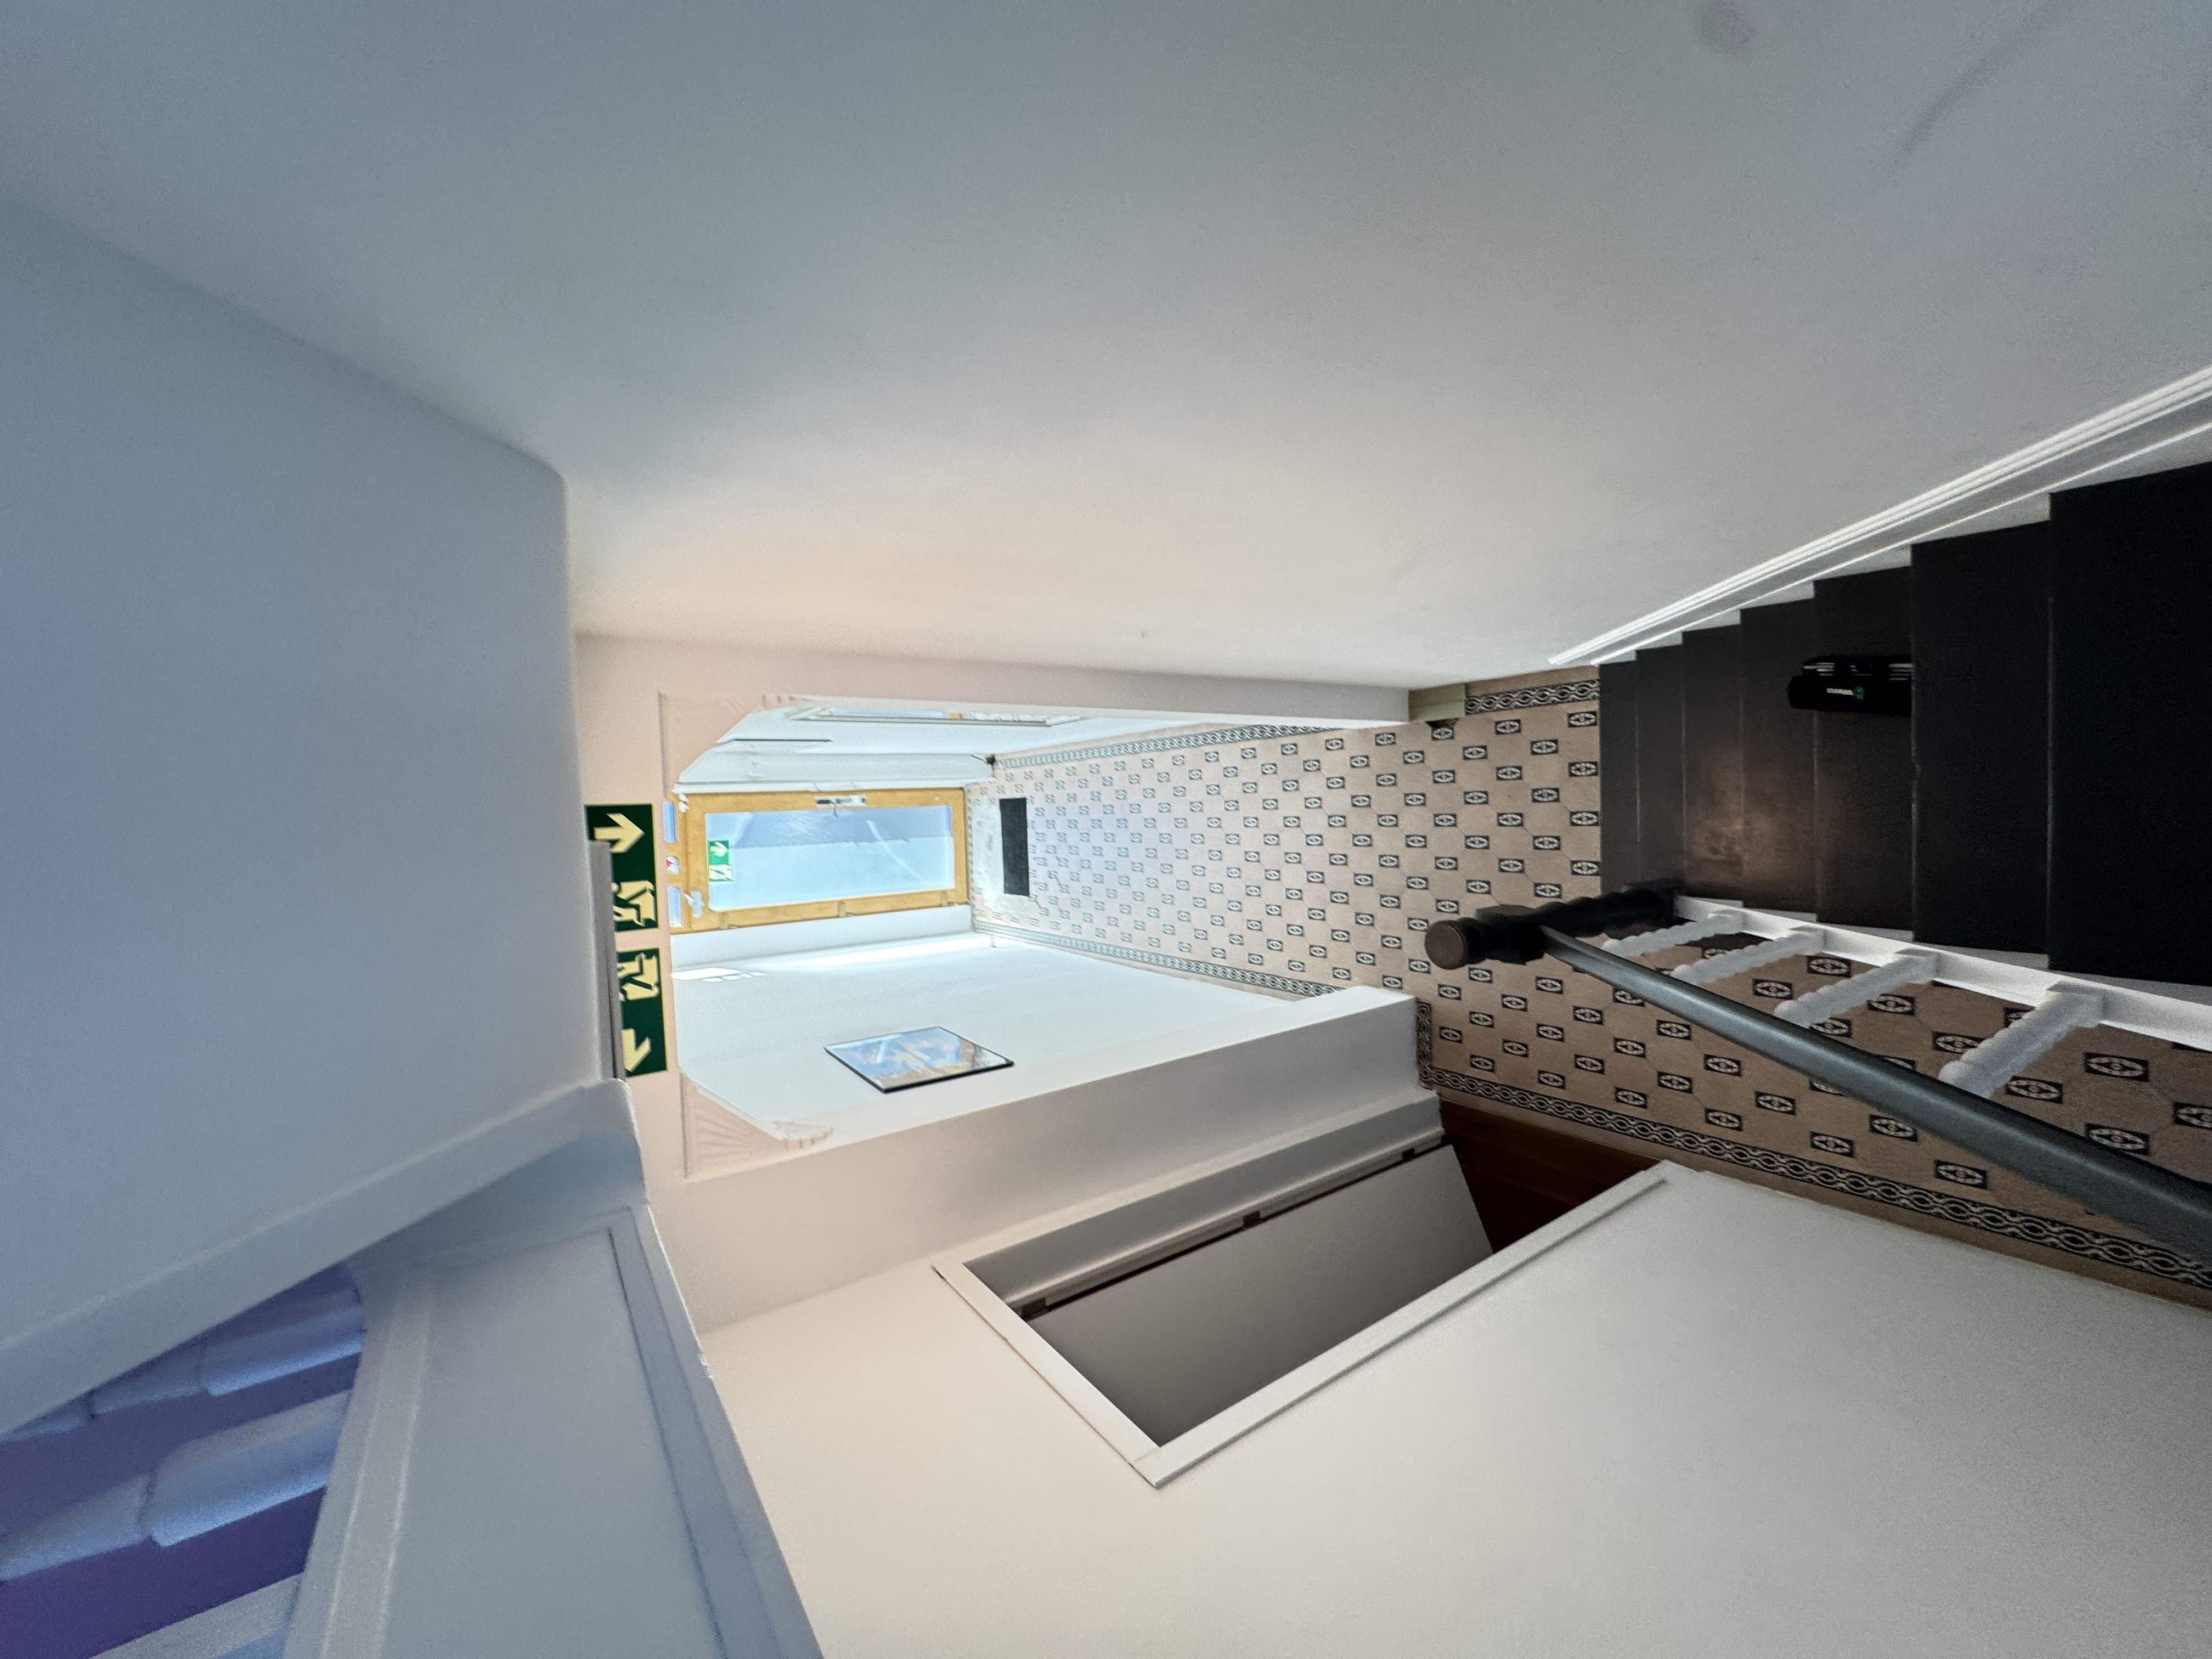
At ground floor you arrive in the main entrance hall. Signs show the main door straight ahead, and an alternative through the veranda to the left (Route 1B, below).
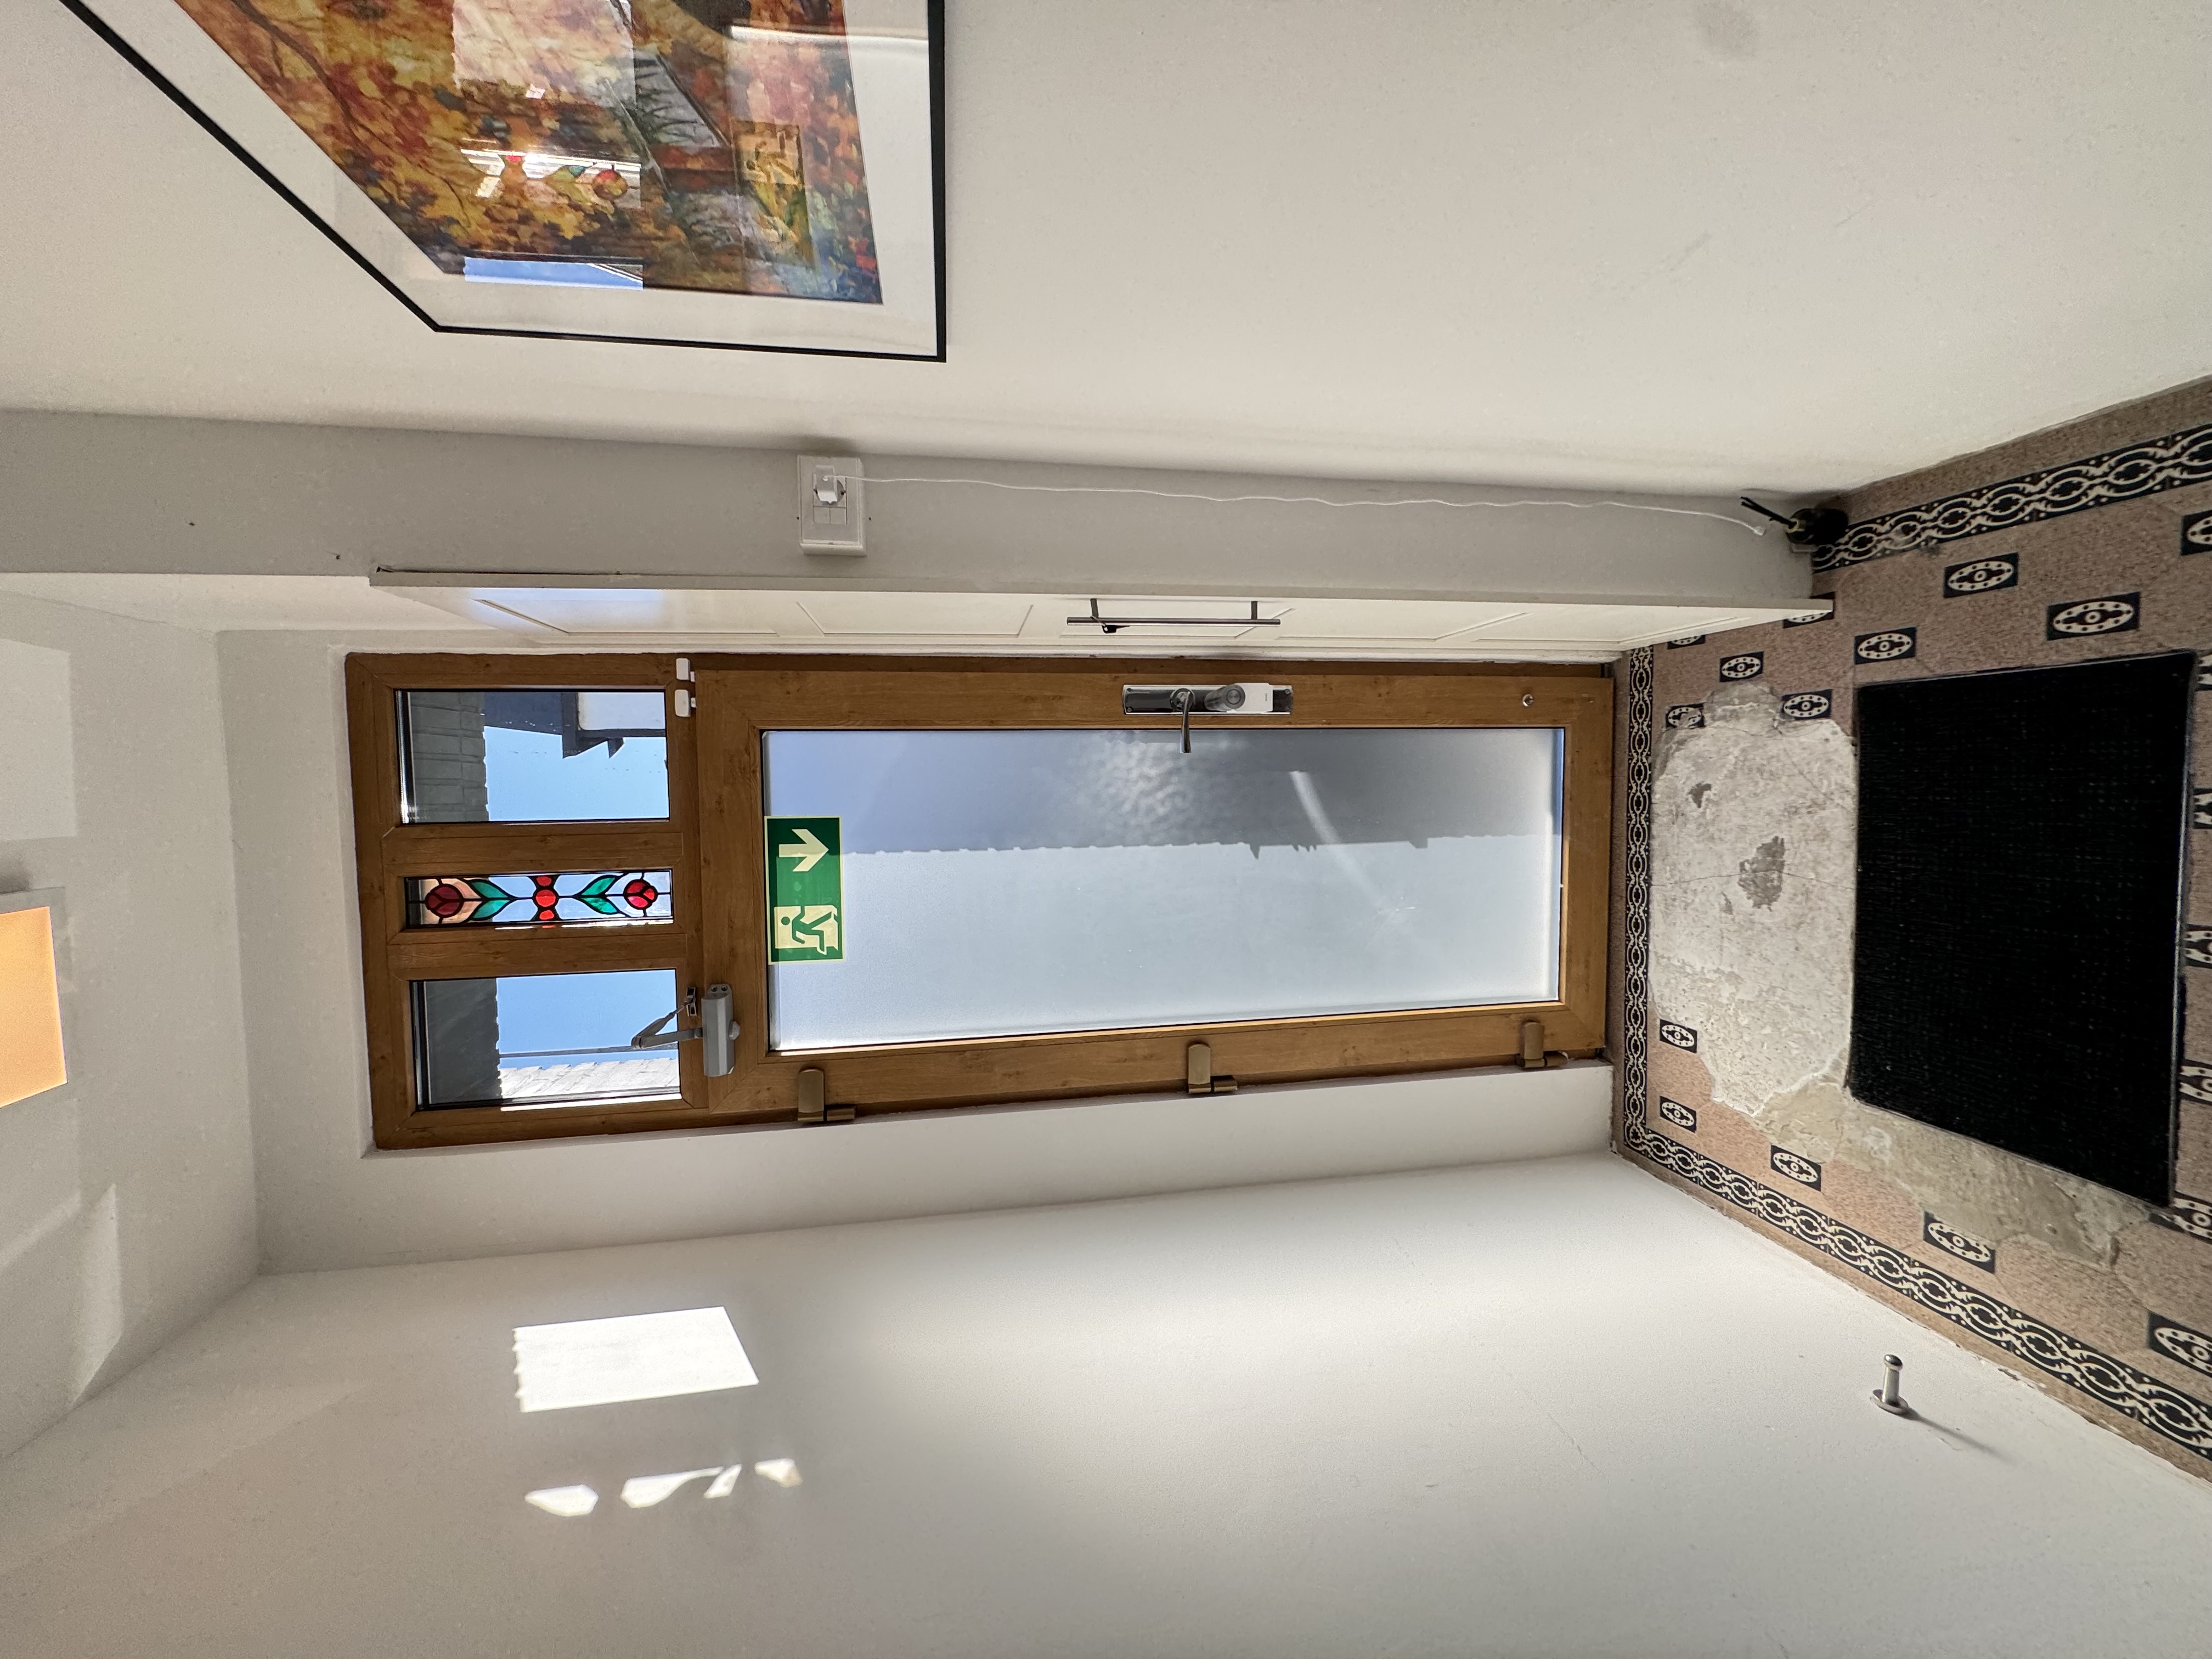
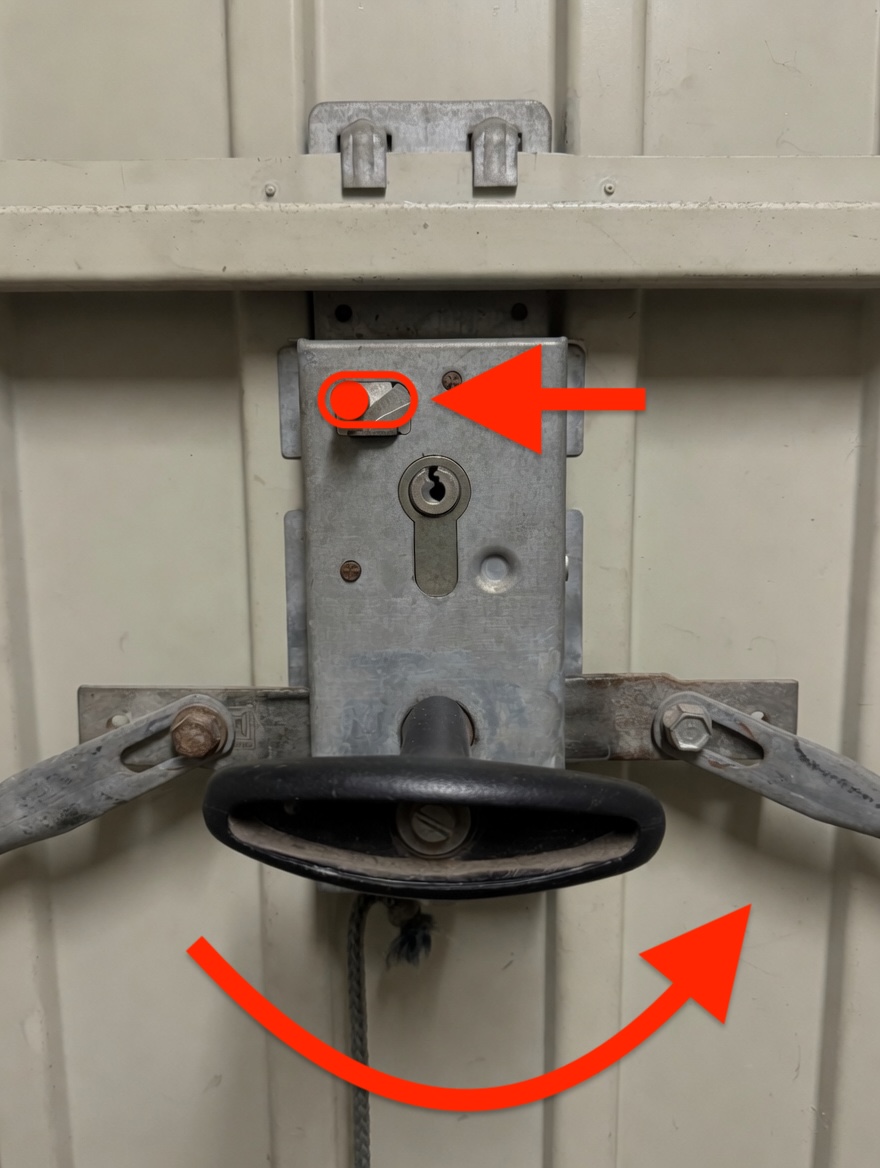
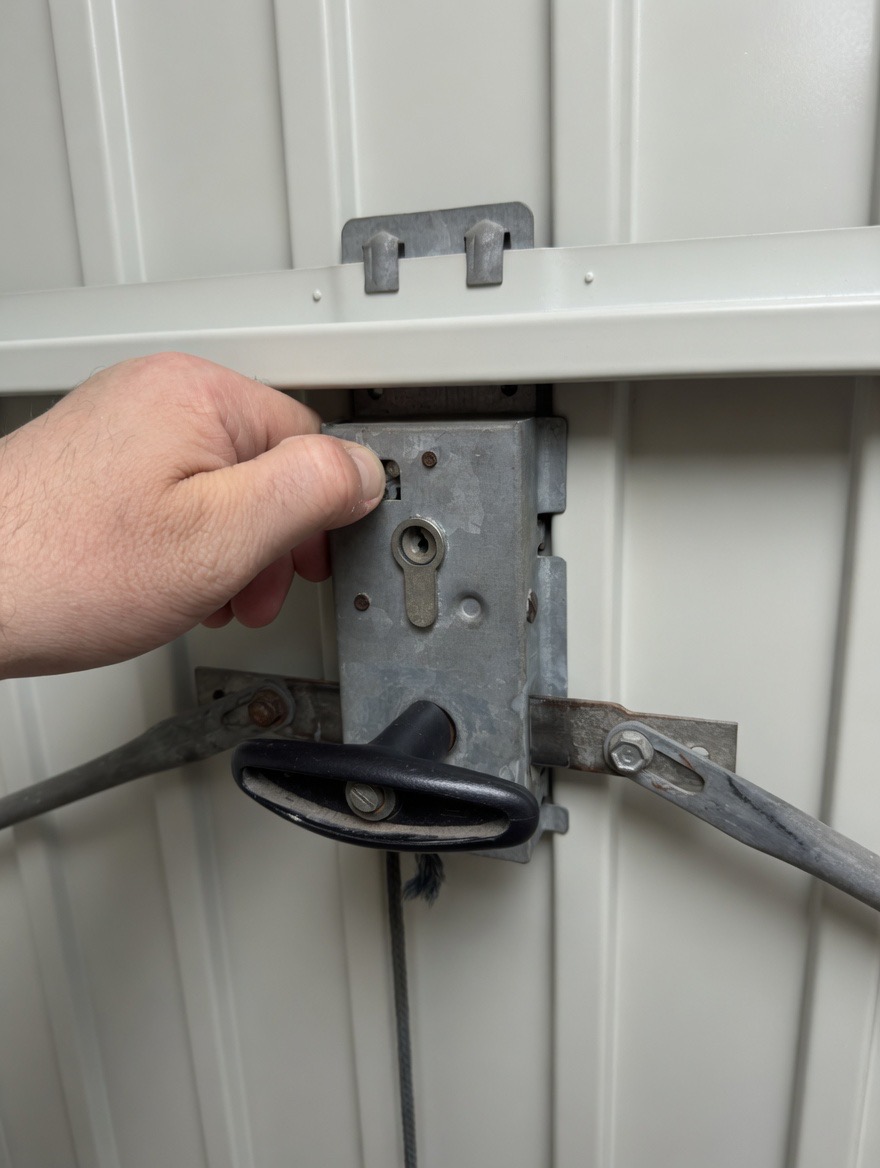
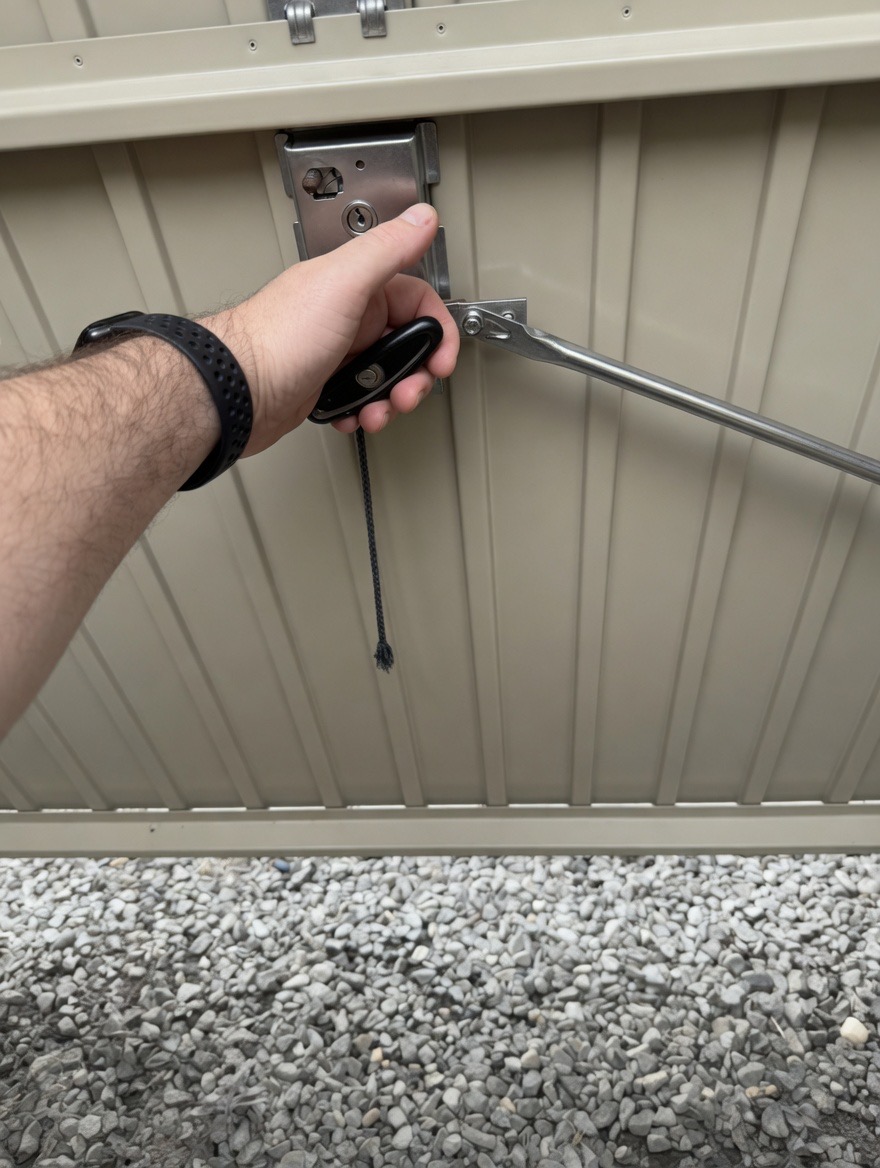
Open the main building door. Push the centre button on the lock for auto-unlock, OR turn the upper round knob counter-clockwise to unlock manually. It takes more than one full turn — keep going. The knob will stop turning when the door is unlocked.
Out onto Steenokkerzeelstraat. Cross the street to the meeting point under the balconies opposite.
Open the apartment door and step into the stairwell.
Photo coming soonroute_1a_01_apartment_doorOpen the apartment door and step into the stairwell.Take photo
Green signs guide you down the stairs.
Photo coming soonroute_1a_02_stairwell_signsGreen signs guide you down the stairs.Take photo
Ground floor: main door straight ahead, or veranda alternative to the left.
Photo coming soonroute_1a_03_ground_floor_signsGround floor: main door straight ahead, or veranda alternative to the left.Take photo
Main building door — push the centre button, or turn the upper knob counter-clockwise.
Photo coming soonroute_1a_04_main_doorMain building door — push the centre button, or turn the upper knob counter-clockwise.Take photo
Lock detail — centre button to release automatically, upper round knob counter-clockwise (more than one full turn) for manual unlock.
Photo coming soonroute_1a_05_lock_detailLock detail — centre button to release automatically, upper round knob counter-clockwise (more than one full turn) for manual unlock.Take photo
Step out onto Steenokkerzeelstraat.
Photo coming soonroute_1a_06_street_view_aStep out onto Steenokkerzeelstraat.Take photo
Meeting point: under the balconies on the opposite side of the street.
Photo coming soonroute_1a_07_street_view_bMeeting point: under the balconies on the opposite side of the street.Take photo
Main building door, seen from the street.
Photo coming soonroute_1a_08_door_from_outsideMain building door, seen from the street.Take photo
Route 1B
Alternative ground-floor exit (through the veranda)
Use this if the main building door is blocked. Same upper path as Route 1A, but at the ground floor turn the other way.
Same trajectory as Route 1A down to the ground floor.
At ground floor, instead of heading for the main door, follow the green pictograms turning the other way: through the veranda, then through the garden door into the garden.
Through the garden, into the garage.
The garage opens onto the neighbour’s interior courtyard. The owner has a right of passage there (he owns two garages in that courtyard).
Through the courtyard and out via the wall opening or the car driveway → public street.
Walk round to the meeting point.
Through the ground-floor corridor toward the veranda.
Photo coming soonroute_1b_01_through_corridorThrough the ground-floor corridor toward the veranda.Take photo
Veranda door — through to the garden.
Photo coming soonroute_1b_02_veranda_doorVeranda door — through to the garden.Take photo
Cross the garden toward the garage.
Photo coming soonroute_1b_03_gardenCross the garden toward the garage.Take photo
Through the garage — emergency lighting in place.
Photo coming soonroute_1b_04_garage_internalThrough the garage — emergency lighting in place.Take photo
Neighbour’s interior courtyard → passage or driveway to the street.
Photo coming soonroute_1b_05_courtyardNeighbour’s interior courtyard → passage or driveway to the street.Take photo
Route 2
Bedroom window — emergency exit
Use this only if the stairwell itself is unsafe (smoke or fire on the stairs). The bedroom window opens onto a permanent steel escape staircase mounted on the rear of the building.
Open the bedroom window. Standard mode opens one side. For the full opening, pull the centre red lever — both sides will swing open.
Step over the sill, or use the small folding step-ladder kept beside the window as a climbing aid.
You’re now on the terrace.
Descend the external steel ladder fixed to the wall. The perpendicular wall provides side support — no slipping risk.
At ground level, take the 4 steps down to the garage.
Through the garage (emergency lighting in place) → into the neighbour’s interior courtyard.
Out via the courtyard → public street. Walk round to the meeting point.
Emergency signs in the bedroom point to the escape window.
Photo coming soonroute_2_01_emergency_signsEmergency signs in the bedroom point to the escape window.Take photo
Bedroom window in the open position.
Photo coming soonroute_2_02_window_openBedroom window in the open position.Take photo
Red centre lever — pull to release both leaves for the full opening.
Photo coming soonroute_2_03_red_leverRed centre lever — pull to release both leaves for the full opening.Take photo
Folding step-stool, kept beside the window as a climbing aid.
Photo coming soonroute_2_04_step_stoolFolding step-stool, kept beside the window as a climbing aid.Take photo
You arrive on the terrace.
Photo coming soonroute_2_05_terraceYou arrive on the terrace.Take photo
Photo coming soonroute_2_07_garage_signsTake the 4 steps down to the garage entrance.Take photo
Through the garage — emergency lighting in place.
Photo coming soonroute_2_08_garage_interiorThrough the garage — emergency lighting in place.Take photo
Garage door — thumb-turn lock on the inside.
Photo coming soonroute_2_08a_garage_thumb_knobGarage door — thumb-turn lock on the inside.Take photo
Push the knob to the right.
Photo coming soonroute_2_08b_garage_push_knobPush the knob to the right.Take photo
Then rotate and push forward — the door opens.
Photo coming soonroute_2_08c_garage_open_doorThen rotate and push forward — the door opens.Take photo
Garage opens onto the neighbour’s interior courtyard.
Photo coming soonroute_2_09_garage_open_courtyardGarage opens onto the neighbour’s interior courtyard.Take photo
Out to the public street → walk round to the meeting point.
Photo coming soonroute_2_10_streetOut to the public street → walk round to the meeting point.Take photo
Routes 1B and 2 meet at the garage. Same exit, two independent paths to reach it. If you’ve come down via the bedroom window and the trap, you’ll cross the garage and the neighbour’s courtyard the same way as a guest who took Route 1B through the veranda.
What’s where in the apartment
Fire extinguisherABC, 6 kg. Wall-mounted in the entrance hall, right of the front door.
Smoke detectors6 in total — 3 inside the apartment (bedroom, living room, entrance hall) and 3 along the stairwell. Don’t disable them.
Evacuation planPosted next to the front door.
Printed instructionsFull text in NL/FR/EN, three columns, next to the front door.